How to perform an OvrC System Takeover
OvrC Pro Hubs have a System Takeover feature to move a customer Location from another OvrC account. This allows you to add a customer’s previously claimed OvrC devices to your OvrC account when requested by a customer to provide continued service.
Previously, System Takeovers only moved devices that the OvrC Pro Agent scanned on the network. Continue reading to see how the process has changed.
Note: Control4 customers must request to change their Smart Home Pro to take over a system installed by another integrator. Read the Control4 Dealer of Record (Smart Home Pro) Change Process for more information.
Pro Tip: Carry an OVRC-300-PRO specifically for takeovers. OvrC Pro Hubs are the only devices that are not automatically scanned in by other OvrC Pro Agents. This ensures that your takeover device doesn't get claimed in the old dealer's OvrC account.
What transfers to the new integrator?
The new integrator receives the entire customer Location, including the claimed devices (even offline devices), their configuration, notes taken in the OvrC location, OvrC Connect users, and the customer.control4 account. They do not receive the Linked Resources, information about the previous integrator, or the Notification settings.
Note: Notifications must be reconfigured.
This process also moves the revenue share from Control4 Connect and Assist to the new dealer after they perform an OvrC System Takeover. Any applicable revenue share is moved to the new Dealer of Record in the second month following the system takeover.
Note: System Takeovers do not reset the username and password for individual devices. Use our Resets & Restores page or the product manuals for device reset instructions.
What does the original integrator see?
The customer's Location remains in the original integrator's account, but the device list, configuration, and client services are no longer available. The Linked Resources remain with the original integrator. It is safe to delete Locations that have moved to another integrator's account.
How to move the customer Location to your OvrC account
Caution: Do not connect the OvrC Pro Agent to the customer's network until you claim it on the Customer's Location to avoid the device being claimed by the previous Dealer of Record.
-
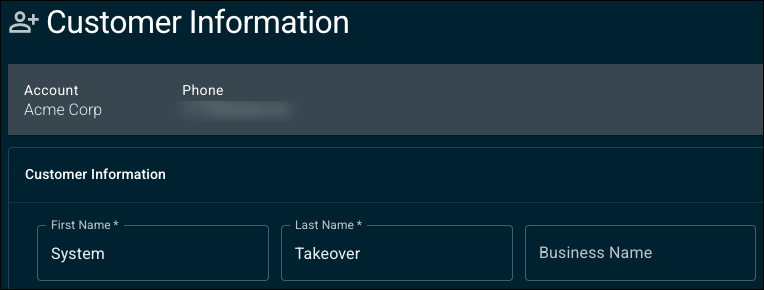
Create an OvrC Takeover Customer and Location.
-
Go to the Devices tab click Add Device.
-
Claim the OvrC Pro Hub in the new Location.
-
Connect the OvrC Pro Hub to the network.
-
Go to the OvrC Pro Hub's Device Details page > Pro Tools and click Begin System Takeover at the bottom of the page.

-
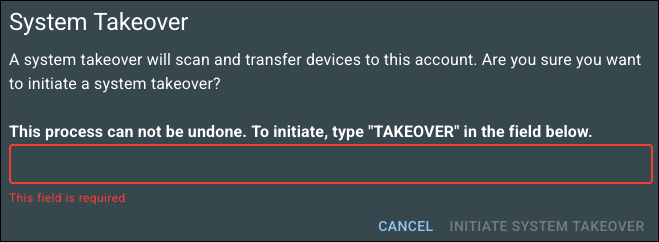
An explanation of the System Takeover with a warning that the process cannot be undone pops up. You must type 'TAKEOVER" in this window before you can click Initate System Takeover.
-
Select the Location(s) you want to transfer.
Note: The customer Locations may be separated in case they uses separate integrators for their technology needs. Such as an audio/video integrator and a surveillance integrator.
-
Click Initiate System Takeover. You'll receive a success or error message.
Note: The System Takeover process does not move the devices into the Location you create. It moves the customer Location into your OvrC Customer list.
-
If you receive a Success message, verify the customer's Location now appears in your Customer list (as it was named by the previous dealer).
If you received an error it was likely because of the following:
-
The Control4 customer didn't initiate the transfer through the Smart Home Pro Change process.
-
The Control4 system is running OS 3.2.1 or lower and there isn't an OvrC Pro Agent in the Location. Update the controller.
-
The Control4 system's primary controller is an HC-800 or HC-250.
-
-
Delete the OvrC Pro Hub from the Location you created for the system takeover.
Pro Tip: Claim the OvrC Pro Hub in your OvrC Inventory to avoid it being claimed on future takeover jobs.
-
Delete the Location you created for the system takeover.
-
Remove the OvrC Pro Hub from the network, unless you want to transfer the OvrC Pro Hub to the customer Location you took over. Verify the device acting as the OvrC Pro Agent in the Location to perform regular network scans, speed tests, and device monitoring.